

Creative with dry stone walls
23/04/2025
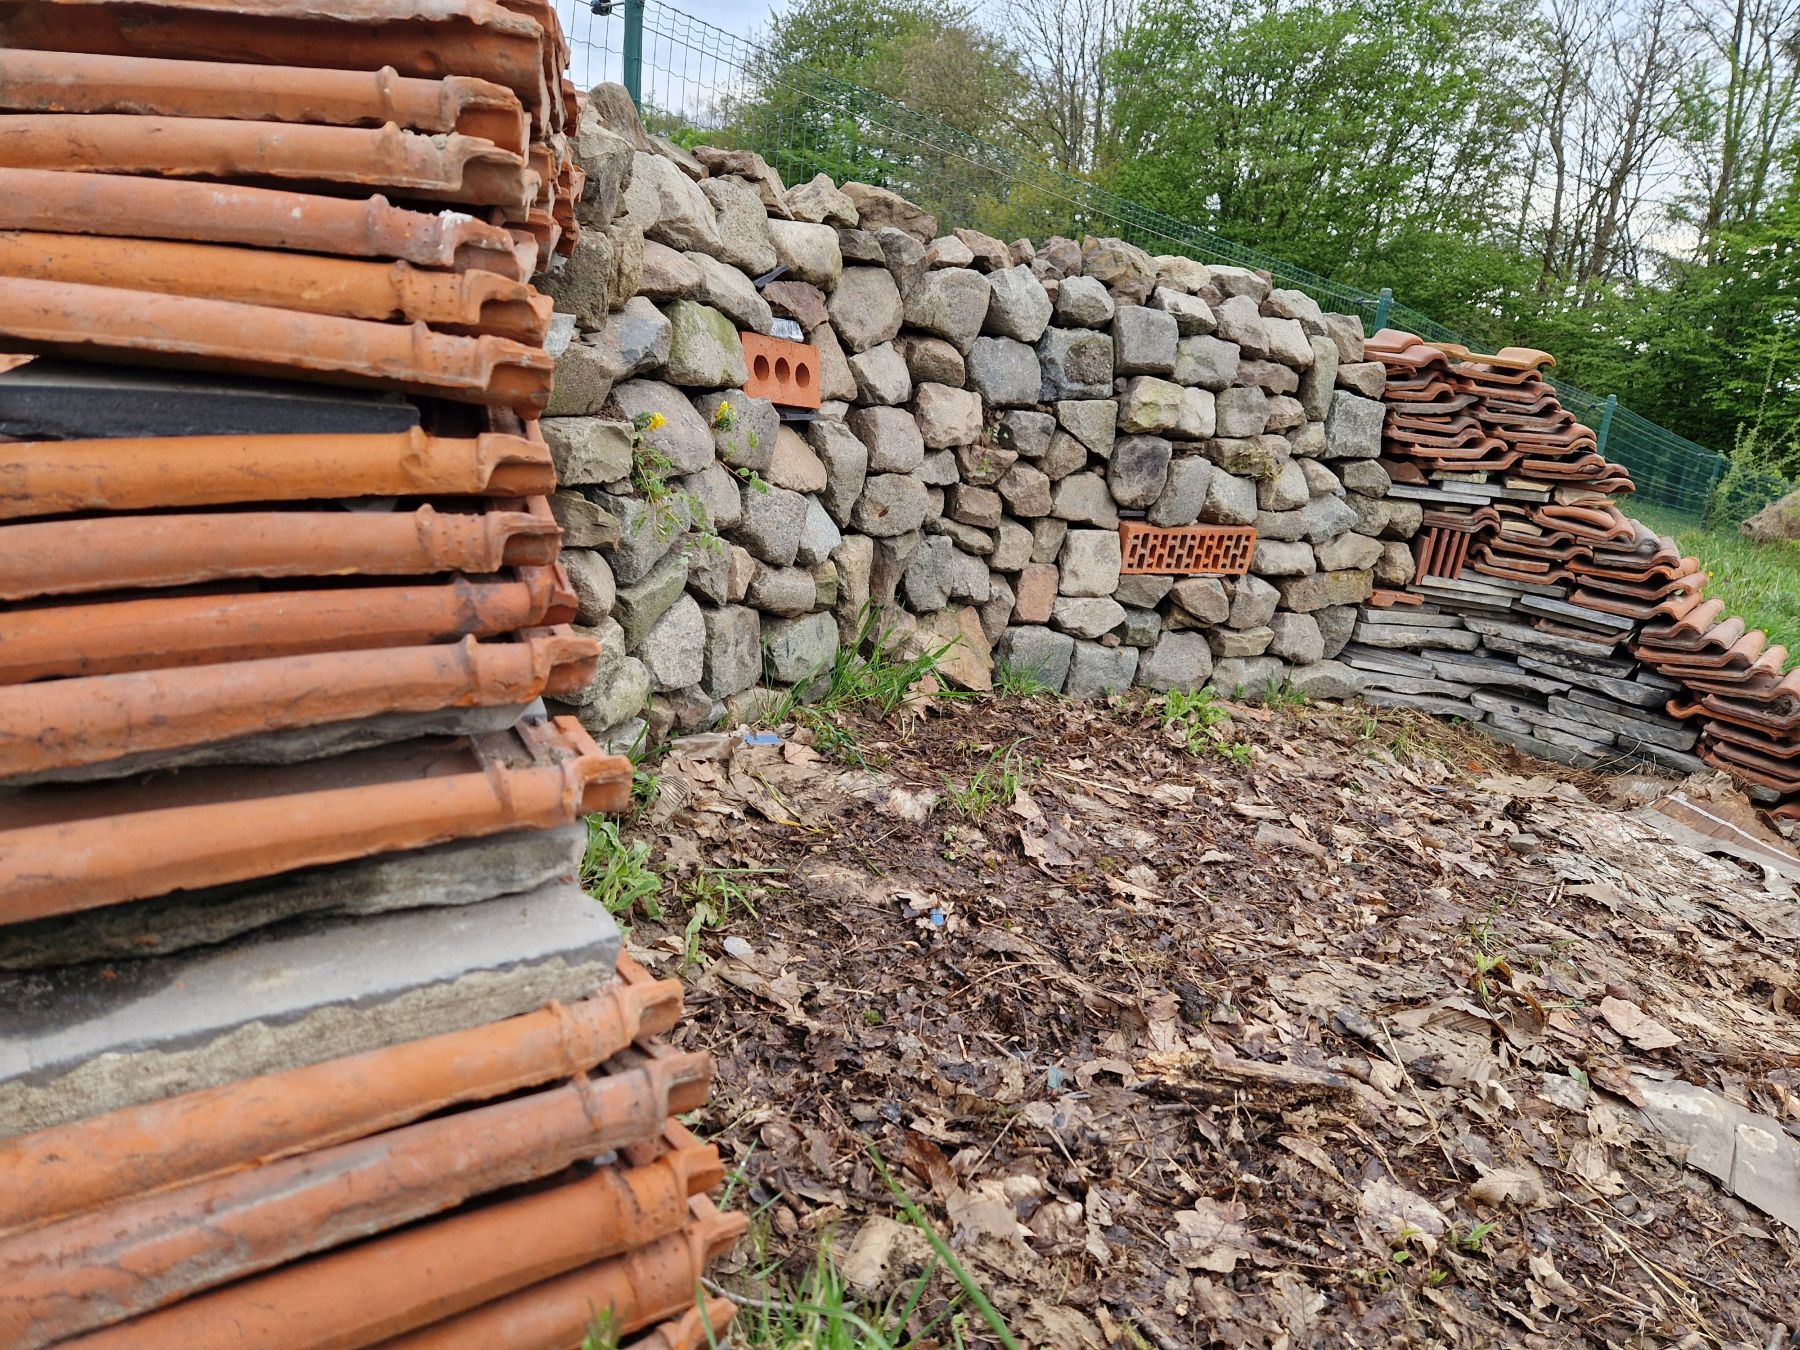
At the back of our garden at the highest point of the slope, you have a nice view of the rolling countryside across the valley. When I do my garden tour, I often think 'this is where we need another seating area'. I had also long wanted to build a dry stone wall and collected a pile of discarded cobblestones, roof tiles and tiles. And so I set to work...

A stacking wall is like an extra biotope for biodiversity in your garden. A refuge for the common wall lizard, the common slow worm, shelter for the toad, newts and for numerous insects like woodlice and, spiders. After just one day of installation, the ants were completely at home and soon the green woodpecker - fond of ants - found out too!
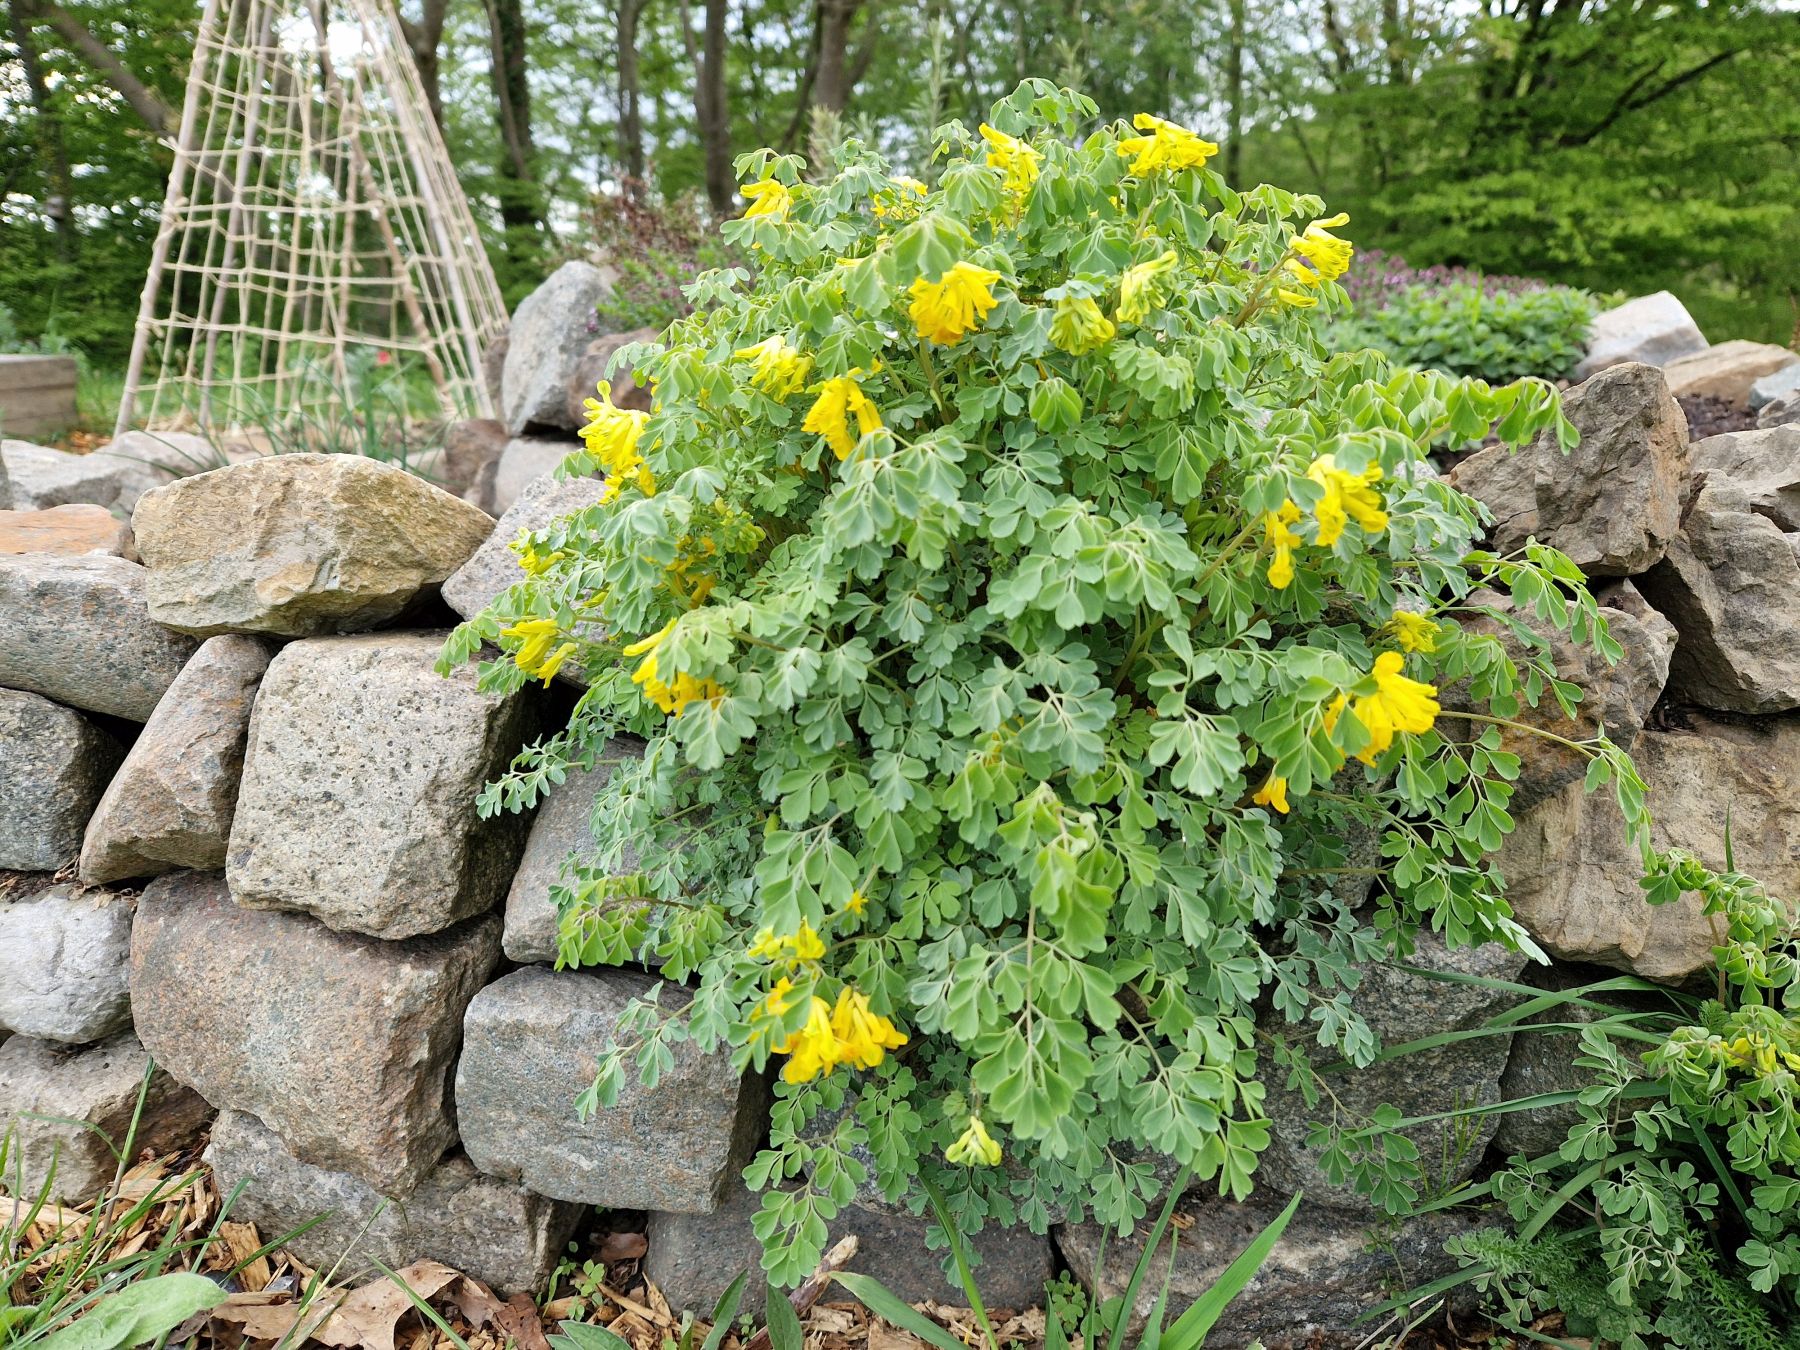
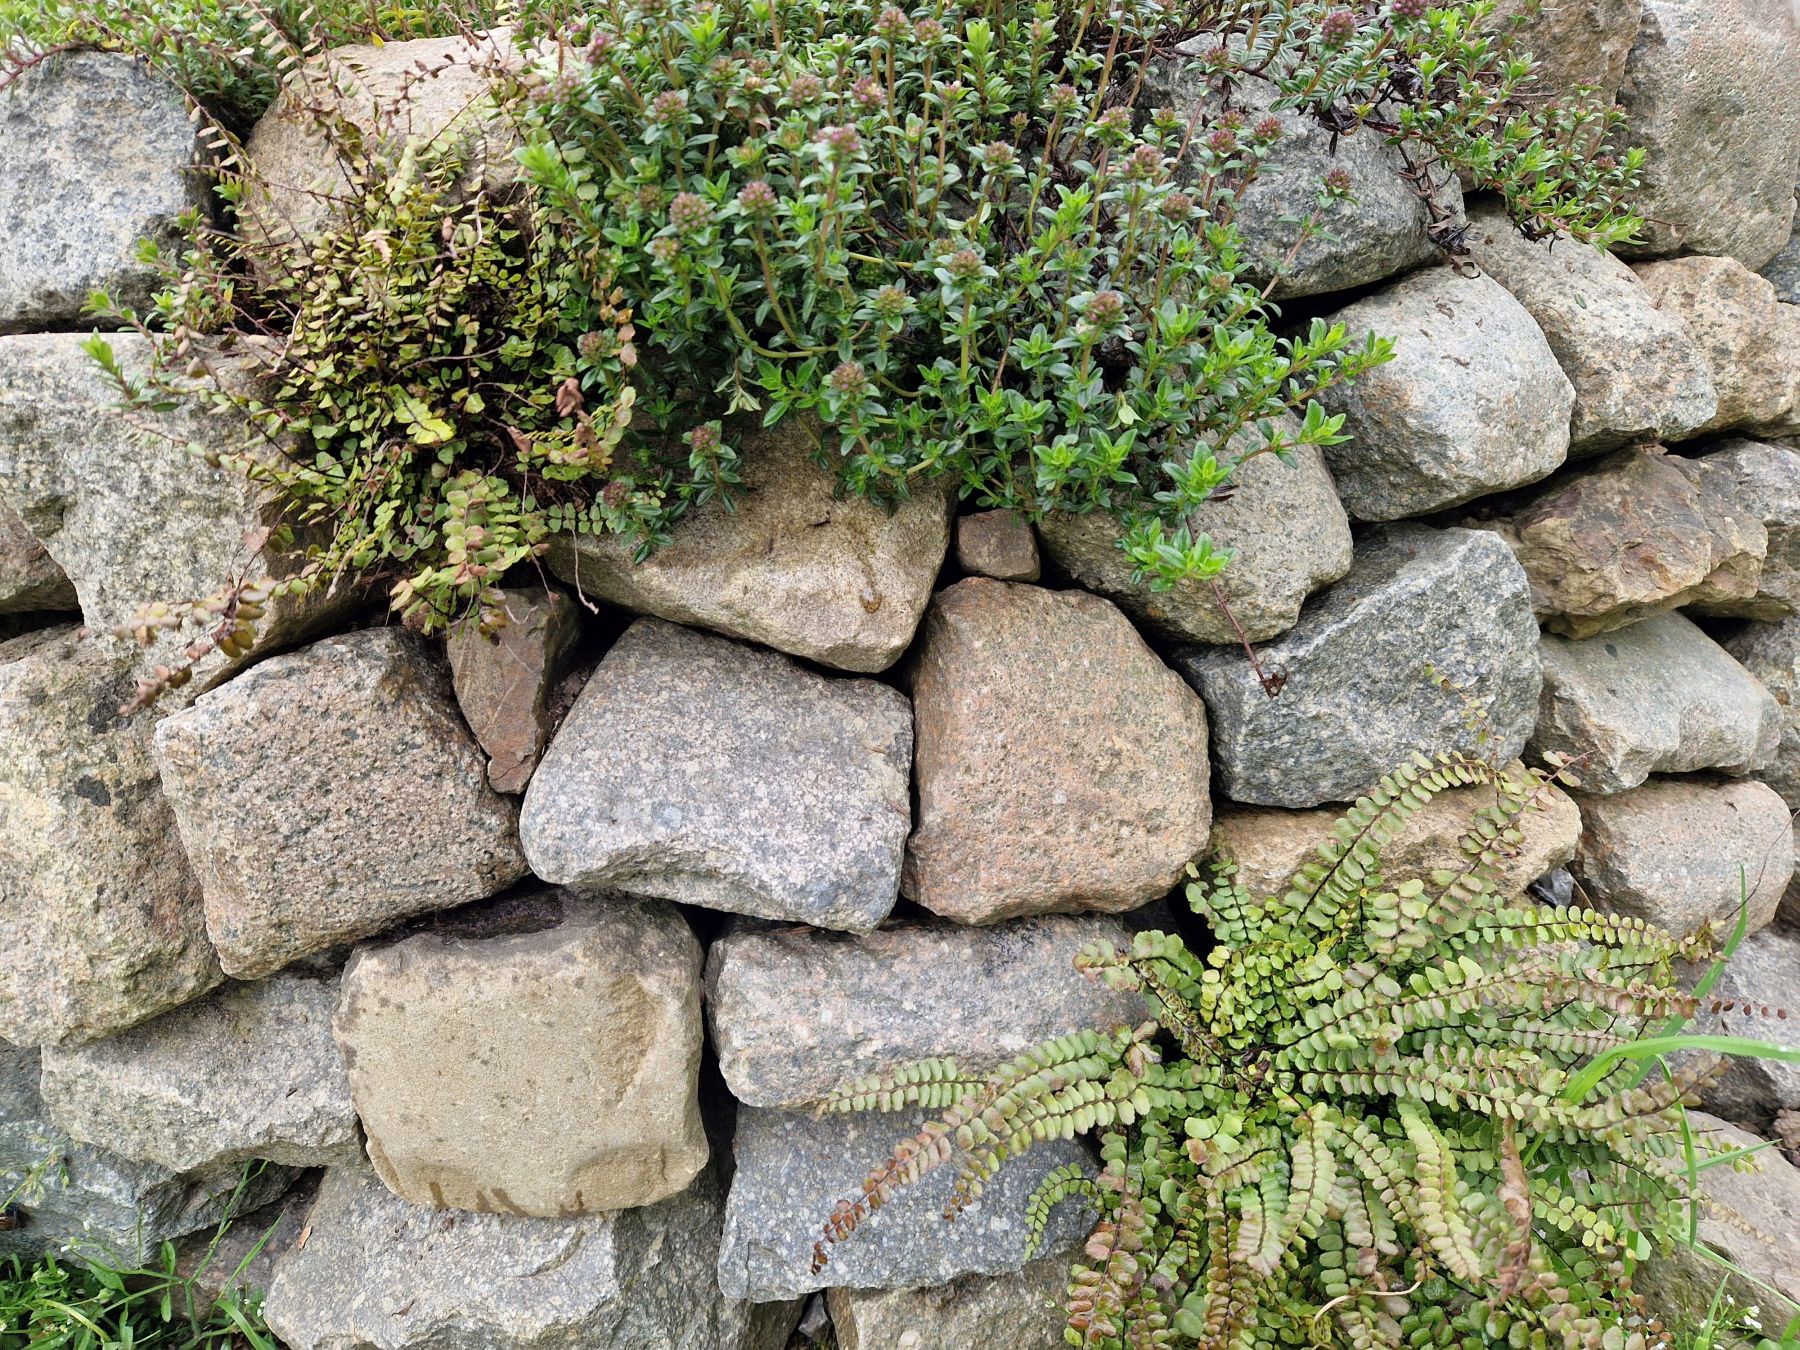
In addition, it is also an ideal growing place for typical wall plants such as ivy-leaved toadflax, succulents (sedum), aromatic herbs, ferns and mosses. You can integrate the plants during stacking or let them develop spontaneously. The roots of the plants further strengthen your wall. The seasonality is also very nice, in winter you see the wall well, but in summer you have more and more plants forming a green flowering wall attracting numerous pollinators.
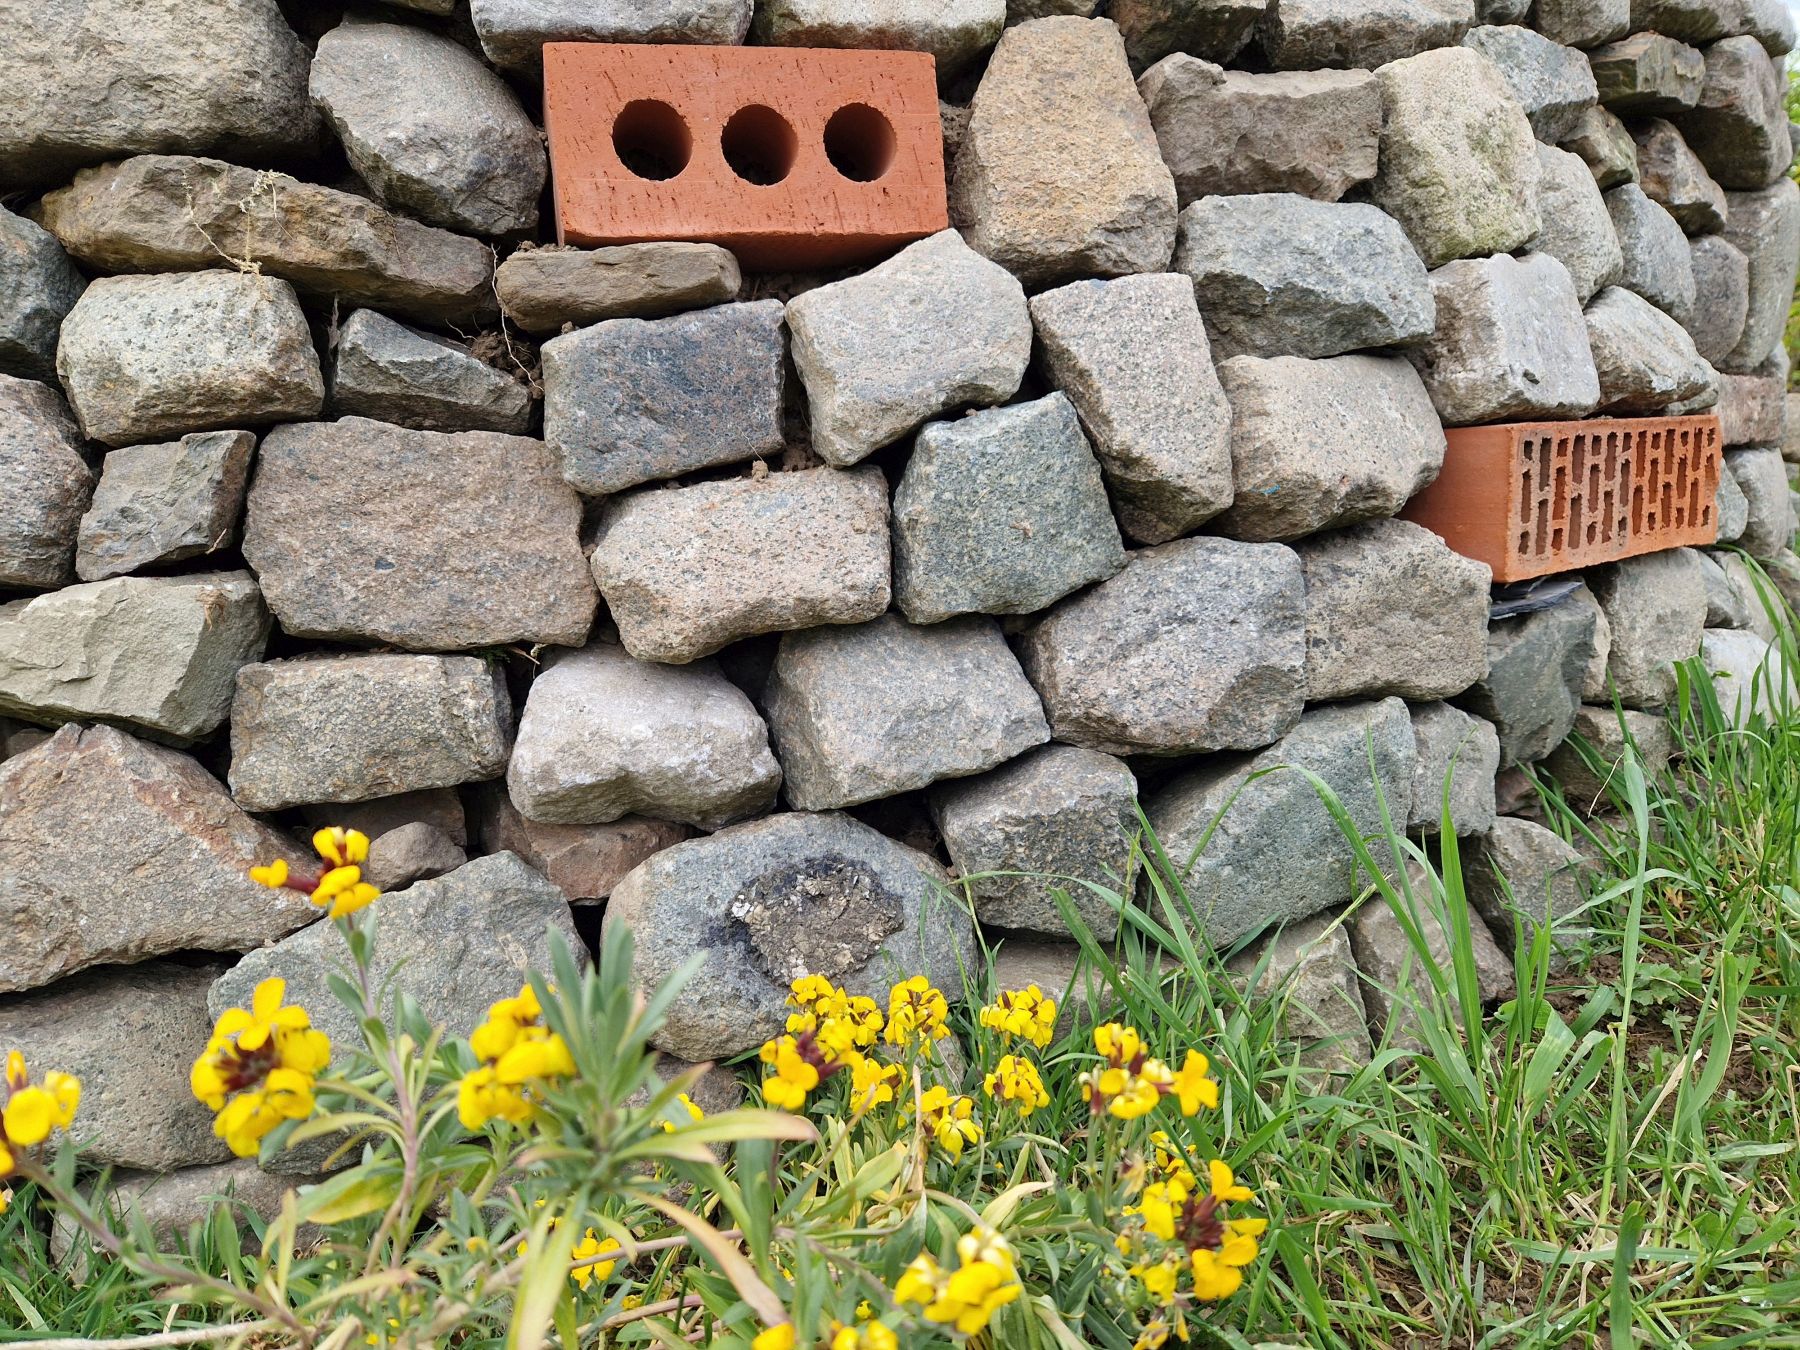
The typical thing about a 'dry' stone wall is that you do not use mortar but work with the weight of the stone like shepherds used to do. Footnote to self: with irregular cobblestones, it can be quite a tricky puzzle, but with a lot of patience and a touch of creativity, you'll come a long way. By not stacking it too neatly, you create a labyrinth of little crevices and passages where insects and plants find their own place and after a while it becomes a mini-rock-ecosystem with its own microclimate, a shady side for mosses and ferns and a sunny side with flowering plants where butterflies, dragonflies and bees love to come and sunbathe.
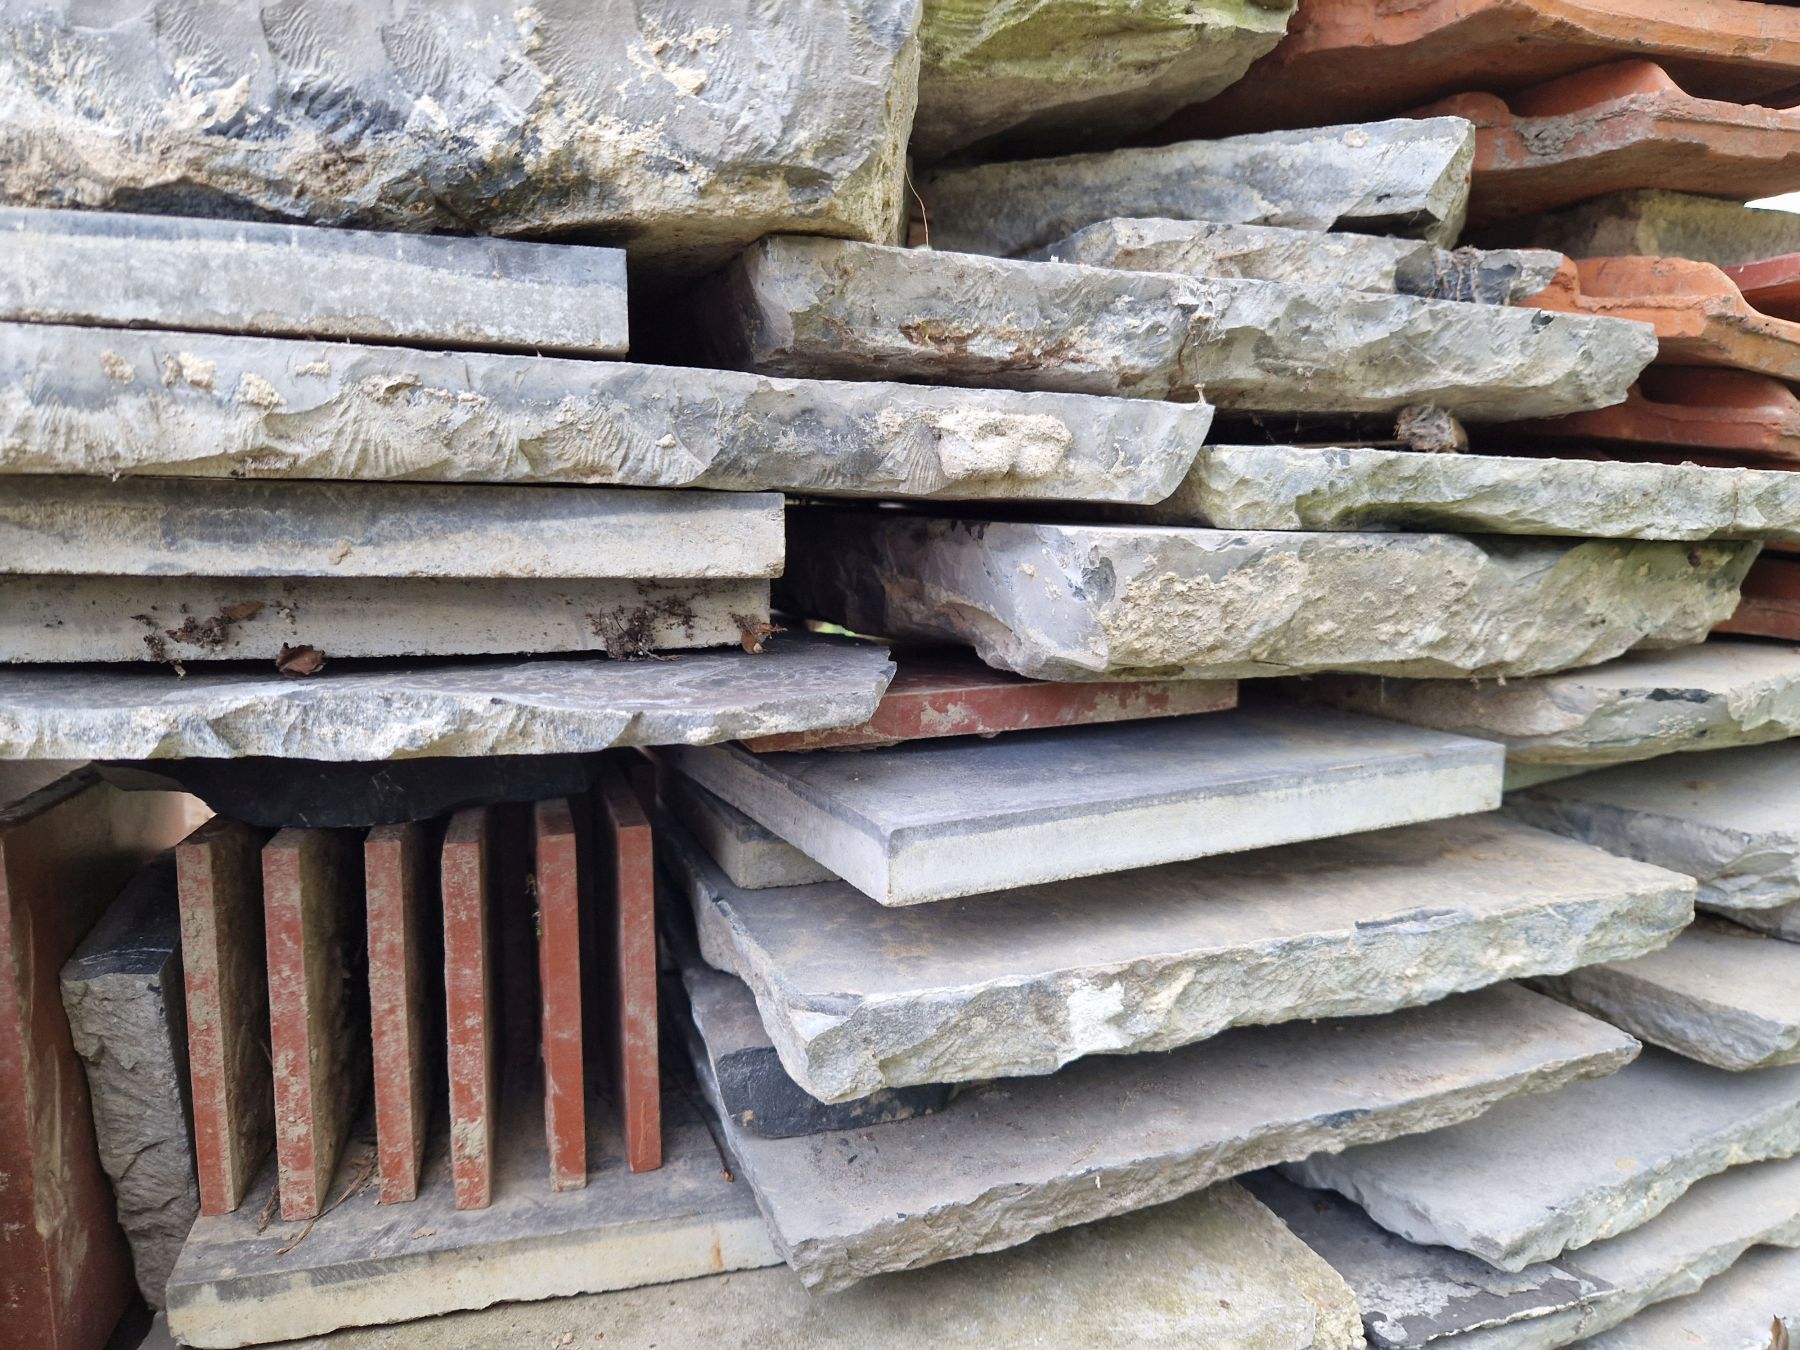
The 'look and feel' depends heavily on the material you use and you can go for flat stones that stack more easily and beautifully or rather a mix of materials. Many of us have a pile of forgotten stones stacked in the back of the garden, which you can work with. If you want to go for less pavement and more greenery, you can recycle the tiles too. You can also eliminate height differences with a wall built against it or even build small walls as an edge of plant borders.
Photos from dry stone walls ) (c) The new wild garden’ (BBC) & Garden of Appeltern (NL)
For the technical aspects, you better look online, as I am a beginner myself, but the following tips will certainly help you get started:
- Clear the ground of vegetation and shovel earth away just below ground level.
- If your soil is sand or sandy loam, provide a foundation of crushed stone
- Make sure your wall has a solid foundation with long, flat and large stones
- Place the stones so that they slope slightly to the inside of the wall on both sides
- Good overlap of the bricks provides more stability
- For the sides of your wall, ideally look for bricks with one flat side
- Work from a wide base to smaller top. With stretched rope, you work more precisely!
- The width of base should be at least one-third of height
- Fill the centre with smaller irregular stones, grit and loose earth
- Placed stones should not wobble. Support if necessary with a small stone
- Choose flat-topped stones for the top finish, which is the most beautiful
- You always need more stones than you think! That way you also have choice for the best fit!
- There may be gaps between the stones, good for wildlife, but check the stability
Have fun building it! It's great to just observe what animals and plants find their way to your dry stone wall. Now that my wall is build, I'm thinking of combining it with a circle of sand substrate for solitary bees, but that's for another blog!
Comments
- Tof! Stenen verzamelen is de boodschap 😊 (Johan)
Add a comment